Confident Clouds Clouds are a funny one in watercolour - they can make or break a good landscape image. They can be the most atmospheric, peaceful part of a painting, or they can end up looking like little white shapes that have been stuck on afterwards. If your clouds sometimes feel a bit “cut-out”, you’re not alone but worry not, the fix is usually simpler than you’d think. What’s it all about? Most “stuck on” clouds are caused by one or more of these: - Hard edges all the way around (this makes them look superimposed)
- Cloud shadows that are too grey (or too dark)
- All the clouds being the same size and spacing (which creates a lack of depth)
When approaching a cloudy sky, the goal is to make clouds feel like they’re floating inside the air rather than sitting on top of the paper. What makes it work 1) Use lost-and-found edges A cloud rarely has a crisp outline all the way around. Try this: - choose one area of the cloud to be a little sharper (a “found” edge),
- then soften or lose the rest into the sky.
That one change instantly makes clouds feel more natural. 2) Think “shadow colour”, not “grey” Cloud shadows usually borrow colour from the sky. So instead of reaching for a neutral grey, try mixing a shadow that’s: - slightly cooler than the sky,
- slightly duller,
- and lighter than you think.
You can always deepen it with a second pass once it’s dry. 3) Let clouds create depth with scale and spacing Try this simple depth cue: - Nearer clouds: make these a little bit larger with more variation and slightly stronger contrast
- Distant clouds (near the horizon): make these smaller, closer together with softer edges
Even if you do nothing else, this makes the sky recede. 4) Avoid “painting the white” too much If you try to paint around every cloud shape, it often gets fussy. A calmer approach is: - lay in a simple sky wash,
- then lift a few lights,
- then add just a hint of shadow.
Simple clouds beat complicated clouds almost every time. The video I shared last week about lifting out is great for this too - you can watch it here if you want a reminder: 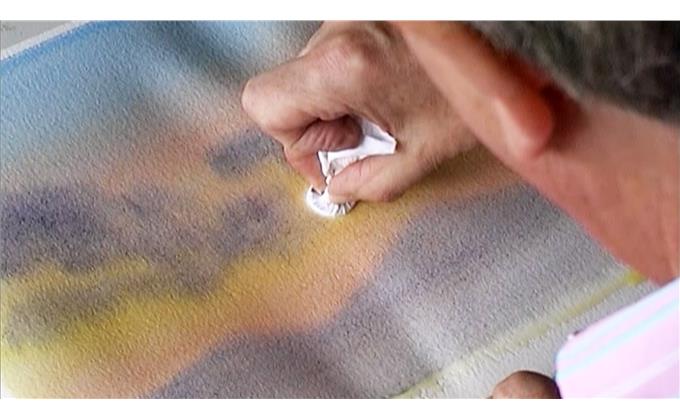
Fancy giving it a try? - Paint a small sky wash rectangle (any blue/grey you like).
- Lift 3–5 simple cloud lights (don’t over-shape them).
- Mix one gentle shadow colour and add it to the underside of a couple of clouds.
- Now soften only one or two edges on each cloud — leave the rest alone.
Share your progress with our Facebook community here - they would love to see your efforts https://www.facebook.com/groups/507681213309249/ If you’d like to see a step-by-step demo, you can browse our full video library here:
https://www.terryharrisonart.com/videos/ Happy Painting
Martin
|